Saturday 28 February 2015

Birthday tin

Love the miniature topic on Paperartsy this week and my third entry is a tiny tin that I have decorated for my daughter's birthday!
The tin is 2"x1.5' and I started by dabbing alcohol inks onto it. I diecut a TH frameworks hexagon set and cut it to fit the tin.
Next, I Treasure Brassed the surface of the hexagons and glued it to the tin. I squirted glossy accents into the spaces and carefully added an assortment of beads using different colours for each hexagon.
I painted the inside of the tin with PA frescos London Bus and Blood Orange and cut and folded black card to fit inside.
I chose a selection of PA mini stamps for the inside and heat embossed images in an assortment of metals and a red.
I added some stickles to the images and doodled around with a white pen. On the back of the concertina is a sentimental rambling that I have written to our daughter in white pen but not shown.
The lid resembles something that I did on a heart shaped box for the topic of shiny stuff. Just hope that she likes it!


Thanks for looking!


Thursday 26 February 2015

"Toilet Roll" Book

My second piece for the PA miniature challenge is another mini book!
I call it a toilet roll book but it is, in fact from other cardboard tubes!

I started by cutting the tubes at varying lengths and adding gesso.
Next I glued on some previously cut flower, butterfly and leaf shapes left over from Fragile Papers challenge. I stamped with an assortment of PA stamps in Watering Can Archival. Gold heat embossed some script and heat embossed the edges with Gold and Black Frantage.


I was really pleased with the edging on the tubes with Frantage.


Next I added something different to each page using scrim, raffia, lace, stockinette, jute ribbon and dried flowers!


I made some "pages " to go inside made from black card with raffia handles and glued a selection of photos from my botanical sketching days!

These are my sketches and watercolours on one side.


And photos of the flowers (from my garden) , before I sketched them. With a few notes.


Finally, I punched holes, threaded rings, added an embelly or 2 and grinned to myself! I am really pleased with this and although I did it all today, for once I have not cut corners or regret anything!
Thanks again to the PA team for inspiring me!


Tuesday 24 February 2015

Canvas minibook

Tuesday of the new PA challenge and I am up and running and very excited!
So much fabulous inspiration again on the PA blog!....juicylicious!

So, I decided to do a mini book consisting of 4 double pages cut from an assortment of canvas style fabric.
Didn't measure, just cut some rectangles which turned out to be roughly 4"x3".
Got so involved that just had to finish in a day, even after lunch out and a pint of lager!

Here we go!....Page one..


PA mini stamp onto gold tissue paper, machine stitched sari silk around it. Outside of canvas scribbled with portfolio pastels, melted and gold frantage added. Few beads and a couple of roses which are cheapo earrings.

Page two...


Felting machined sari silks to some extra canvas, glued LP stamped and coloured pics onto it!

Page three...


Grungepaste stamped into with PA stamp; sprayed with mica sprays; scratched love into frantage embossing gold while still soft. Added Treasure Gold in different colours. Brad in middle.

Page four...


This is a piece left over from a master board inspired by Emma Godfrey. Grungepasted heart, glued on manuscript, stamping and paint flicked.

Page five....


More sari silk adhered to canvas with felting machine. LP stamped onto deli paper; few embolus and a bit of hand done flystitch.

Page six....


Gold tissue surround, canvas painted with French Roast and script stamped over. Gold frantage around edges. Gold lace and LP image!

Page seven....


French roast with Vintage lace over and crackle glazed! Scribbled with Portfolio pastels around the edge and heated. some melted Frantage and beads sewn! PA sentiment.

Page eight......


Golden crackle paste through stencil. Supposed to dry for ever but life too short! Sprayed with copper mica spray. Simple but shame to add anything!

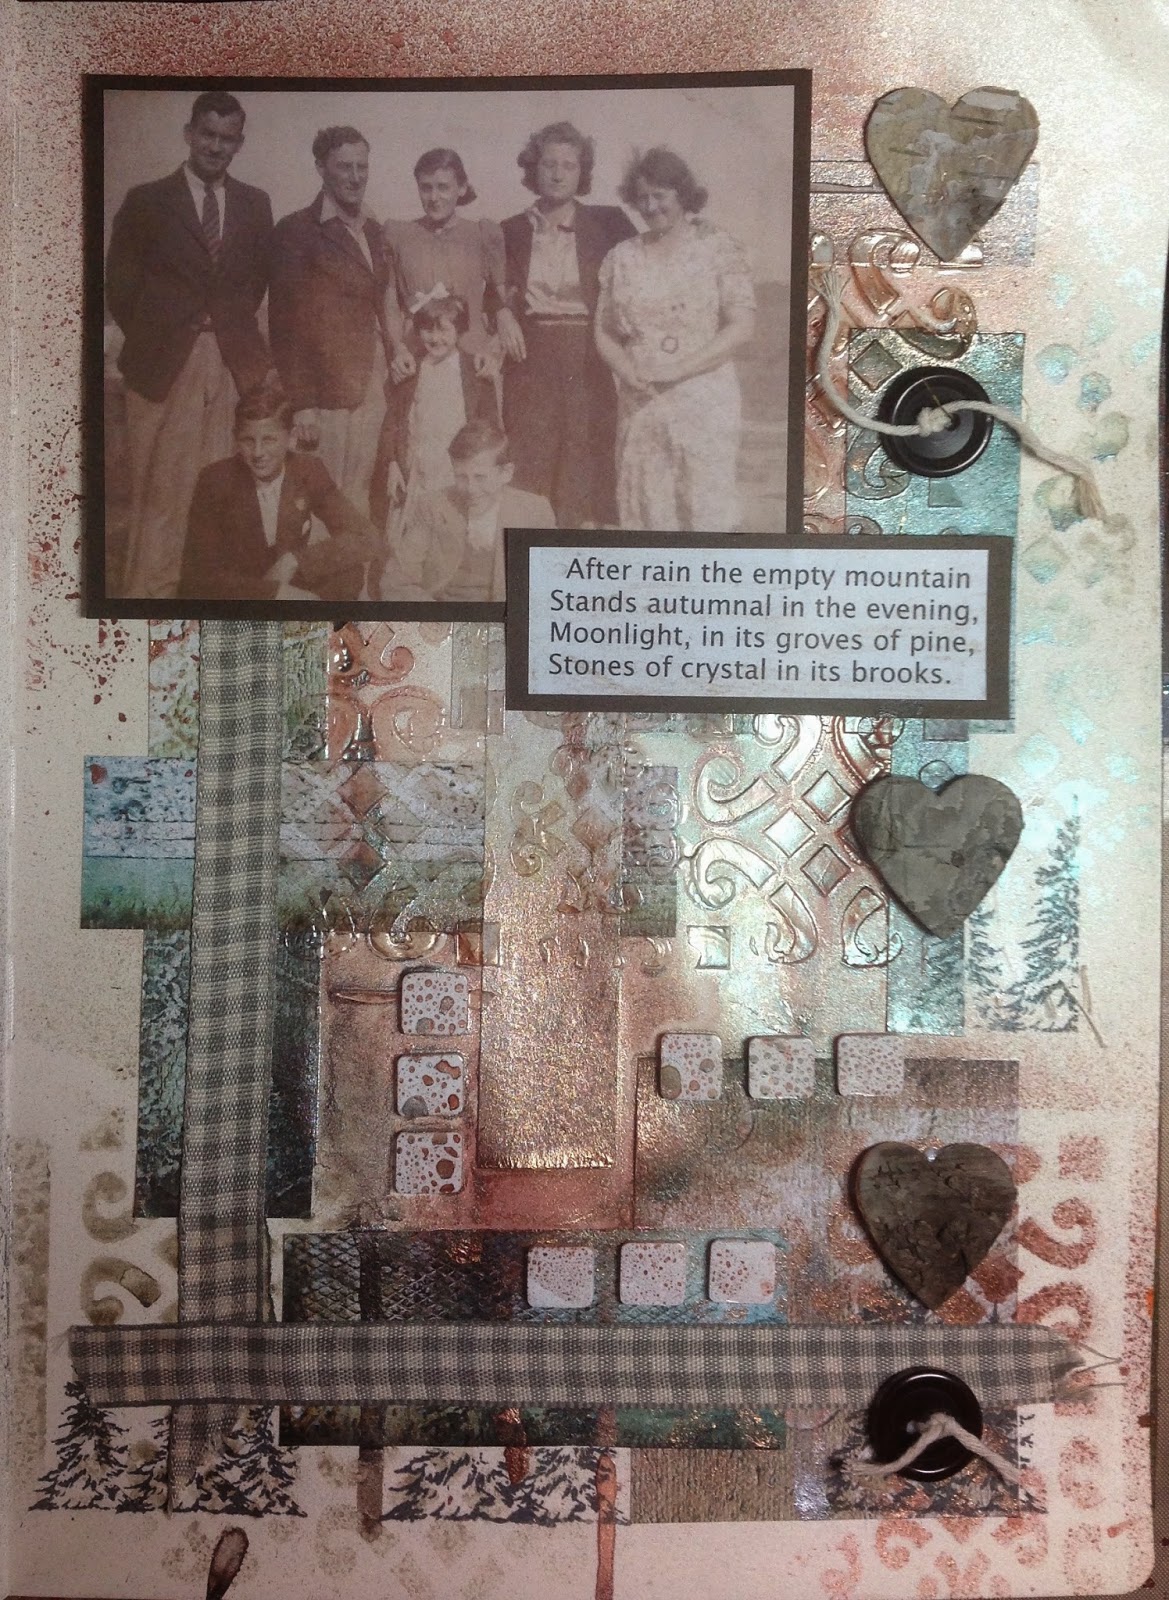
Next, I put it all together and added some wools and fibres! As usual, if I wasn't so impatient, I could have spent more quality time fine tuning, but ....Hey Ho, tomorrow is another day! never know what it may spring upon me!


If you are still with me, thanks for looking and if you have time I would love to know which page you like the best!


Sunday 22 February 2015

Drybrush frescos

I watched an online tutorial by Dina Wakley a few evenings ago and wanted to try out her dry brush techniques but with PA frescos.

First, I gessoed my journal page and when dry, dry brushed PA Limelight in random strokes onto the page.
Next I mixed same colour with first Little Black Dress and then Snowflake and dry brushed through a Lin stencil. I liked the "bumping' effect that the brushing had created.


Next, I stamped with Watering Can Archival a Jofy flower. As it was over the Limelight, I painted over the petals with Snowflake. I mixed Fresco Lavender with Bougainvillea and painted the petals again. 
I stamped some SN script for the grasses and added a little shading to the petals with black and white pen.
Finally I wrote the sentiment..Open your mind and see beauty in everything! 
Love the Fresco paints!


Monday 16 February 2015

Purple Rain Again

I did a purple rain themed piece for the drips and drops on CVC site.
However, I wanted to have another go using PA fresco paints.

I started by cutting assorted raindrop shapes from some purply papers and glued them to my journal page!


Next, I used a Lin Brown stencil and put gel medium through, making sure that some went over the raindrops.
I mixed some fresco paint with water. Lilac and Bougainvillea together and Eggplant on its own and watered them down in little spray bottles.
I sprayed them randomly onto my page and blended them with baby wipes.
I used the same mix paints to drip down and then up the page.


I was pleased with how this turned out and the up drips reminded me of plants, so I took the same stencil and heat embossed some purple "flowers".


I nearly stamped Ruby Rainbow, like I did last time but decided to look for something suitable in my PA stash instead. Ping! found one of my favourite stamps. Stamped it several times on tissue, tore it a bit and glued it to my journal. If you look you will see several "hidden" faces.
Finally, I printed out part of the Purple Rain lyrics and scribbled round a bit!
Enjoyed this and love the versatility of the Fresco Paints.


So, off it goes into the PA paint challenge!


Friday 13 February 2015

Painty girl

Loved the presentations for this challenge all about paint last week.As usual the ideas are juicy and stimulating. I have been a bit under par of late and feeling miserable because I haven't contributed anything to the challenge.
I wanted to demonstrate that the paint is such great quality to do portraits and have painted quite a few faces recently but not with PA frescos.
I started by gessoing my journal page and stencilled a few stars in Limelight, Zesty Zing and Mermaid.
Then I drew the outline of the girl with Stabilo pencil. I used French Roast first for the shadows. Then  Mermaid. Added Bougainvillea in touches; Snowflake for highlights and Lilac. I played around with the paint for a while and then finished off with more Stabile pencil.
Finally, as a PA touch, I printed with some script and Watering Can Archival in her hair and an Ellen Vargo leaf stamp for her dress.
Not my best face, but it showed me that PA Frescos are super for portraits! I must have another go soon!
Thanks for looking!

Tuesday 10 February 2015

Purple Rain

Well, like buses, you wait for ever and just get on one and another comes along straight after.
So, having never entered Country View Crafts challenge before, I now have 2 in one day!

I slept on my first challenge before I finished assembling it and consequently, my mind would not shut down and I dreamed up an idea to do a version of purple rain!
 It didn't really look like this but I am pleased with how this has evolved. I may turn this into a birthday card sometime.
I started like last time, using gel through a stencil. Next, sprayed some Tattered Angels Glimmer Mist in Rum n Raisin down the page. It was then that that I had the idea to use the Ruby Rainbow stamp, which I stamped onto assorted mop up papers.
After assembling her, I used Stickles for her hair and for the rain and printed out part of the Purple Rain Song. Thought that it was quite funky for a pensioner!
Thanks again Alison Bomber for urging me to take part!


After rain

Recently I had another lovely comment on my work by Alison Bomber. She suggested that I pop by the CVC blog and join in the "drips and drops" challenge. So I thought, yes, you are kind enough to evaluate my work and I will have a go!
 I started by chopping up some Finnabair papers and gluing to my journal page and then pressed Liquitex Heavy Gel through my favourite stencil.


When dry, I brushed Dark Bronze mica powder over it; added some padded squares and sprayed areas with Ranger mica sprays, allowing them to run down.


Next I selected part of a poem that talks about the rain, autumn colours, moonlight and crystal. I added a family photo which is also reflective,some ribbon, a few bark hearts and some buttons. The above stage was a breeze, but arranging my composition and deciding upon final elements took hours and a nights sleep!
I had to simplify the mounting of the verse and photo as my background was so busy. 
So, here is my first entry on the Countryview Crafts challenge! Alison Bomber, you are an inspiration!


Sunday 8 February 2015

Calendar February

Happy to join in with the lovely Darcy and her Calendar challenge. Here is my before pic!


I turned her into a mermaid and painted her skin blue. I painted out the letters and stamped small bubbles over the lanterns with bubble wrap. I cut a corrugated card sea and rubbed it with treasure Gold. I rubbed treasure gold onto my large bubble wrap for the ocean. I gave her bubbles from her mouth as intended to submerge her in more bubble wrap but it covered up the mermaid tail too much.Finally I squeezed glitter glue onto the lamps and the bubbles and the top of the sea for a bit of added sparkle. bit crackers but good fun!
Her tail is iridescent but doesn't show up very well!


Saturday 7 February 2015

Shiny Stuff Winter Garden 3

I have not got this Winter Garden thing out of my system yet. So many avenues to explore.
Today, I decided to use my Felting Machine to create layers of foliage.
I started with a piece of handmade paper. Wet it and scribbled inktense pencils onto it.


Next. I cut small pieces of ribbon, lace, trim, Tyvec made lacy and glittery net and ran the felter over them to adhere them to the paper. (I put a piece of felt on the back to help adhere the fibres.)


Anything that was reluctant to fasten down was sewn over with my sewing machine!
I found some variegated green threads and felted them onto the piece to resemble clumps of leaves and then blobbed Perfect pearls in amongst them to represent snowdrops. My original intention was to hand sew a few leaves and add seed beads but changed my mind!


I stamped a sentiment with Black Archival onto some ribbon and laid it onto hessian!


Or does it look better without the hessian? Not decided what to do with it yet!


Thanks for looking. Not entering it into PA challenge as am embarrassed at how rapid my work rate is!


Friday 6 February 2015

Shiny Stuff Card

Me again! Just had to buy some plumber's tape and have a go after seeing such great work earlier this challenge!
After never having heard of it in B&Q I went to a local builder's yard. Told the guy that I wanted it for art and he said  "Thats ok, we get all sorts in here".

I begun by gluing some card letters onto a cereal packet and placed the plumber's tape over the top. I enjoyed making the letters emerge by pressing with a paper stump. I decided not to paint it but to rub in various colours of treasure gold.
Next I added some star brads.
I used all my experimental offcuts from my canvas of my Dad to create a frame around the piece.
I then mounted the whole thing onto brown card and it is going to be a birthday card for my wonderful son!
Loved playing with plumber's tape. Lots of possibilities!


Thursday 5 February 2015

Shiny Stuff Winter Garden 2

Here again with my second play at Winter Garden. My last piece, I felt was a bit overplayed, so this time, I tried to hold back a bit!

I used much the same as last time, with the addition of some very raggy hessian. I didn't brush my background with mica powder this time and I added some drips with watered down PA Snowflake.
It seemed very appropriate to add one of Lin Browns lovely sentiments, which I stamped onto Chatsworth paper. I also scribbled some leaves etc using a Derwent Inktense pencil. My snowflakes this time were perfect pearls!
Loving this theme thanks to the very talented Diane Taylor!


Tuesday 3 February 2015

Shiny Stuff Winter Garden.

Another project with shiny stuff and this one is entirely inspired by the amazing work of artist Diane Taylor...velvetmothstudio. She also entered the PA challenge with her Winter Garden! I am totally blown away by her work and decided to try my version.
First I took photos outside with vegetation peeping through the snow.
Next, I played with Tyvek, as explained by Diane, where you iron it over a stamp, covered by parchment paper and get lacy results.
This is a bad photo as they are white and silver.

Next, I played with Angelina fibres and Fusible film over some of Lin Browns stamps. Here are 2 of the flowers.

I played for a while with fibres and film adding mica flakes between layers.

Then, in my journal, I grungepasted through a stencil and added white mica powder before it was dry, and glued some random mop up paper in strips! No idea where this was going!


I love the irridescence of the mica powder on the shapes.
Next, I tore up the lacy tyvek, cut up "grassy strips" using parchment paper and Waxy Kraft; added music strips; glued mica flakes; cut some strips from fusible film experiments for leaves and cut up Lin's flowers to make snowdrops! 
After a while I realised that I had overdone it but hey ho! I had a blast!
Finally, I wrote my words onto Chatsworth paper, aged them a bit and added them to the FULL page.
I am going to have another go and this time pare it down a lot! 
I am pleased with my experiments more than the finished result, but that to me is fine.
So many thanks to Diane Taylor, who, to me is a genius!